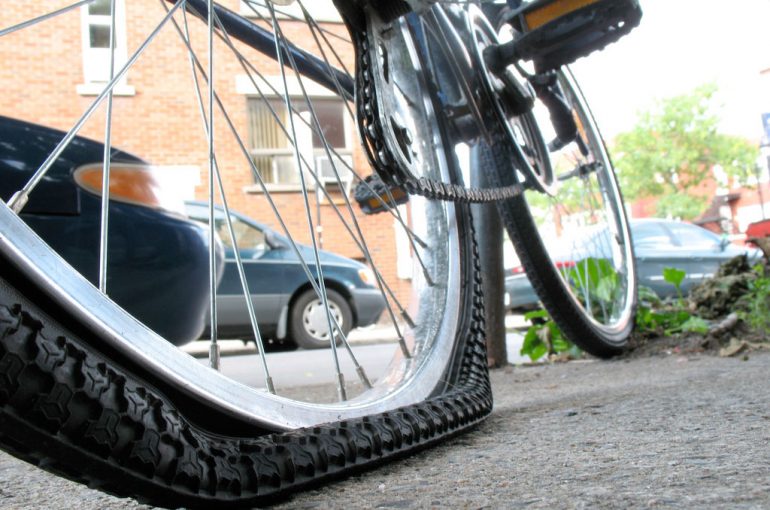
Roadside & Trail Repair – Changing a Flat Tire
Roadside & Trail Repair – Changing a Flat Tire

We are excited to present our first post in what will hopefully become a series helping our local riders with roadside and trail repairs. The beauty of riding your bike is where it will take you! Your bike is a tool for adventure. The trick is, your adventures may put you in a place not close to a bike shop. So it is wise to have some knowledge to get you back on the trail and eventually home.
One of the most common repairs that comes into the shop is someone needing help with fixing a flat. It may be the most common issue a rider has with their bike. When a flat tire happens around the house, you can easily load the bike (or wheel) up and swing by the shop for a quick fix, however, when on the road or trail that is a different story…
Overview: Every cyclist will eventually get a flat tire. Thus, you should practice changing a flat tire before the need arises. That will give you peace of mind and eliminate doubt when the skill is needed on the road. Become familiar and comfortable with the tools used and carry them with you on each ride.
Step 1: (For a rear flat) Shift the chain to the small ring in the front & the smallest cog in the rear.
Step 2: Open brake caliper & quick-release lever. For front wheel unscrew quick-release a few turns. For rear wheel press down on rear derailleur cage allowing slack in the chain & the wheel to be removed more easily. Remove the wheel from the bike.
Step 3: Insert a tire lever between the tire & the rim. Pull the tire lever around the rim in a circle. The bead of the tire will pop out of the rim, allowing the tube to be removed. There are many options for tire levers, we recommend Pedros or Crank Brothers tire levers for your tool kit. They are the ones we ride with and use around the shop.
Step 4: Leaving the valve in the rim, remove the tube from inside of the tire. This keeps the tube & tire aligned together, which helps locate the punctured area on each. Inspect tube for cuts or holes. In the event you are not carrying a spare tube (see Step 6), you would repair the puncture in your tube now.
Step 5: Inspect the outside of the tire for cuts or holes. Make sure there are no sharp objects impaled in the tire. If you are not able to visually identify the cause of the flat carefully run your fingers along the inside of the tire. If a sharp object or thorn is found, remove it from the tire.
Step 6: Starting with the valve, insert the new tube into the tire by placing the valve through the valve hole of the rim. Continue working the tube into the tire making sure the tube is not twisted. If the tube is hard to work with, put a little air into the tube & then put it into the tire.
Step 7: Re-insert the tire bead into the rim with your fingers while making sure not to pinch the tube between the tire bead & the edge of the rim. Continue this procedure around the tire until the bead is fully inside the rim. Resist using a tire lever if possible, as it could lead to damaging the edge of the tire or the tube.
Step 8: Check for pinching. Squeeze the tire bead together while looking into the rim channel to make sure the tube is not caught between the tire & the rim. This will cause another flat tire, known as a pinched flat, when inflated.
Step 9: Attach the CO2 inflator or pump to the valve & lock it into place. Inflate the tire/tube.
Step 10: Remove the pump & screw the valve shut (if you have a presta valve). Replace valve cap.
Step 11: Install the wheel back on the bike. Press down firmly on the bicycle to insure that the axle is seated properly in the dropouts. Lock the quick-release lever or re-tighten the axle nuts, depending on which system the bicycle uses. Spin the tire to make sure it does not rub against the brakes or rim.
Step 12: Close the brake caliper & re-align brake caliper if necessary. Squeeze your brakes (brake check). Shift the gears to an easier gear to start riding again.
Tips
– Take all the necessary items to change a flat tire with you in a saddlebag every time you ride so you do not find yourself stuck without a way to fix a flat. Those items are tire levers, a backup tube (appropriate size and valve stem), a patch kit and some form of inflation (mini-pump or CO2 inflator). Gloves are handy too.
– Be careful when pulling off the road or trail to change a flat tire. Find a place with plenty of room for automobiles and other riders to go around you. If on the road, make sure you are visible to drivers and other cyclists.
If you need some hands on instruction or want to learn more, please come by the shop during one of our Bike Maintenance 101 Classes. Keep an eye on our Events page or on our Facebook page for more information.
Enjoy the ride!


